In the first article, you learned what AI image prompts are, and in the second article, you learned how to structure them correctly. Now it is time to take control of your results.
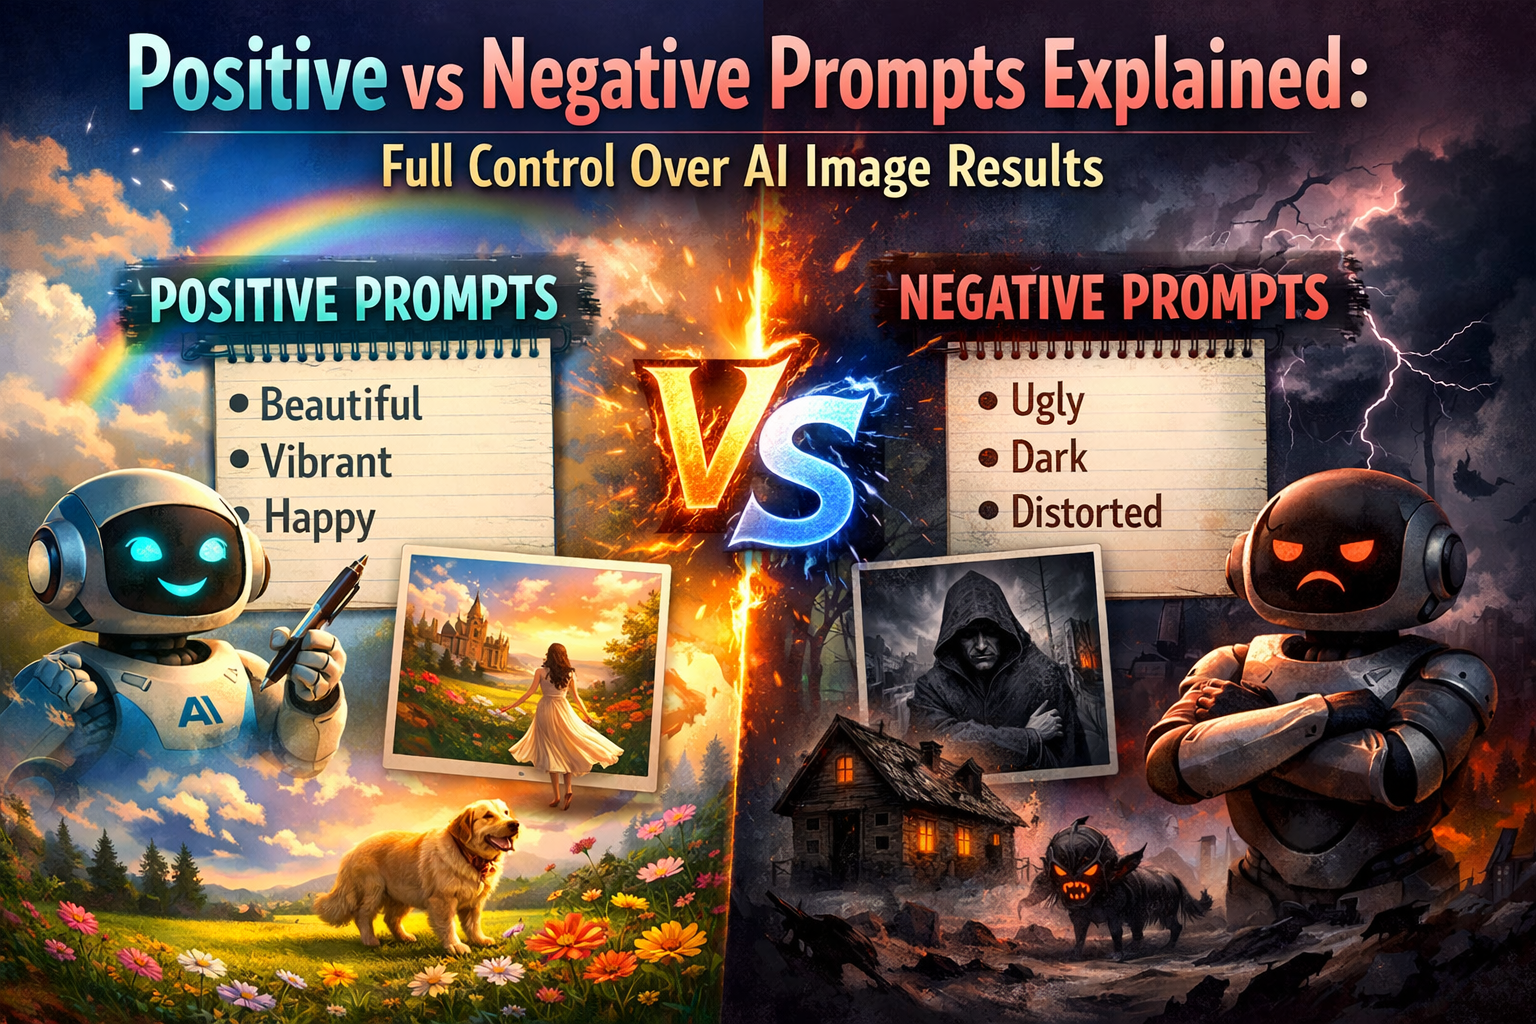
One of the most powerful yet misunderstood concepts in AI image generation is the difference between positive prompts and negative prompts. Many beginners only focus on describing what they want but forget to tell the AI what they do not want.
This article explains positive and negative prompts in detail, shows how they work together, and provides clear examples to help you generate cleaner, more accurate images.
What Are Positive Prompts?
A positive prompt describes what you want the AI to generate. It includes the subject, style, environment, and other desired elements.
Positive prompts answer questions like:
- What should appear in the image?
- What style should it follow?
- What mood or lighting is required?
Example Positive Prompt
A realistic portrait of a young woman, studio background, professional photography, soft natural lighting
Everything in this prompt tells the AI what to include.
Positive prompts are the foundation of every AI-generated image. Without them, the AI has no direction.
What Are Negative Prompts?
A negative prompt tells the AI what to avoid generating. It acts as a filter that removes unwanted elements from the image.
Negative prompts answer questions like:
- What should not appear?
- Which visual flaws should be avoided?
- What styles or objects are unwanted?
Example Negative Prompt
blurry, low quality, distorted face, extra fingers, watermark
Negative prompts are especially useful for fixing common AI problems such as:
- Extra hands or fingers
- Blurry faces
- Text or watermarks
- Unrealistic proportions
These problems will be discussed further in Fixing Common AI Image Problems.
Why Negative Prompts Are Important
Many beginners assume AI will automatically generate perfect images. In reality, AI models sometimes add unwanted details based on probability.
Negative prompts help by:
- Reducing random artifacts
- Improving realism
- Increasing consistency
- Saving time by reducing retries
For example, without negative prompts, a portrait image may include text, logos, or strange background elements.
Using negative prompts improves output quality significantly, especially for professional or commercial use.
How Positive and Negative Prompts Work Together
Positive and negative prompts are not opposites; they work together to refine results.
Think of it as:
- Positive prompts = inclusion rules
- Negative prompts = exclusion rules
Combined Prompt Example
Positive prompt:
A photorealistic portrait of a man wearing a black jacket, studio background, soft lighting

Negative prompt:
blurry, low resolution, extra fingers, distorted face, text, watermark
The AI uses the positive prompt to create the image and the negative prompt to clean it.
Beginner-Friendly Prompt Examples
Below are simple examples showing how positive and negative prompts work together.
Example 1: Portrait Image
Positive prompt:
A realistic portrait of a smiling woman, neutral background, professional photography

Negative prompt:
blurry, deformed face, extra eyes, text, watermark
Example 2: Product Image
Positive prompt:
A modern smartwatch on a clean white background, studio lighting, high detail

Negative prompt:
reflection distortion, text, logo, low quality, noise
Example 3: Landscape Image
Positive prompt:
A peaceful mountain lake at sunrise, cinematic style, warm lighting

Negative prompt:
foggy blur, dull colors, artifacts, unnatural shapes
These examples are beginner-safe and work well across most AI image tools.
Common Use Cases for Negative Prompts
Negative prompts are especially useful in the following scenarios:
1. Portraits
To avoid:
- Extra fingers
- Deformed eyes
- Asymmetrical faces
Common negatives:
extra fingers, extra limbs, distorted face, crossed eyes
2. Text-Free Images
AI often adds random text.
Common negatives:
text, watermark, logo, signature
3. Photorealism
To improve realism.
Common negatives:
cartoon, illustration, anime, painting
This connects closely with Photorealistic AI Image Prompts: How to Get Realistic Results.
Common Mistakes With Negative Prompts
Beginners often misuse negative prompts. Common mistakes include:
- Using too many negatives
Overloading negative prompts can confuse the AI. - Contradicting the positive prompt
Asking for realistic images while adding “realistic” to negatives. - Using vague negative words
Words like “bad” or “ugly” are unclear. - Ignoring structure
Negative prompts should be clean and focused.
Understanding prompt structure from Basic Structure of an AI Image Prompt helps avoid these mistakes.
When to Use Positive vs Negative Prompts
Use positive prompts when:
- Defining subject and style
- Setting mood and lighting
- Creating new concepts
Use negative prompts when:
- Fixing recurring issues
- Removing unwanted objects
- Improving consistency
Advanced users constantly refine both sides together.
How This Prepares You for Advanced Prompting
Mastering positive and negative prompts prepares you for:
- Prompt weighting
- Multi-subject prompts
- Tool-specific controls
- Advanced prompt engineering
These concepts will be covered in Advanced Prompt Engineering Techniques, where negative prompts play a critical role.
Conclusion
Positive and negative prompts are essential tools for controlling AI image generation. While positive prompts tell the AI what to create, negative prompts tell it what to avoid. Together, they dramatically improve image quality, realism, and consistency.
By understanding and applying both correctly, beginners can produce professional-level results with fewer retries. This article builds directly on prompt structure and sets the foundation for more advanced techniques ahead.
In the next article, we will focus on how to achieve photorealistic AI images using the right prompt techniques.

